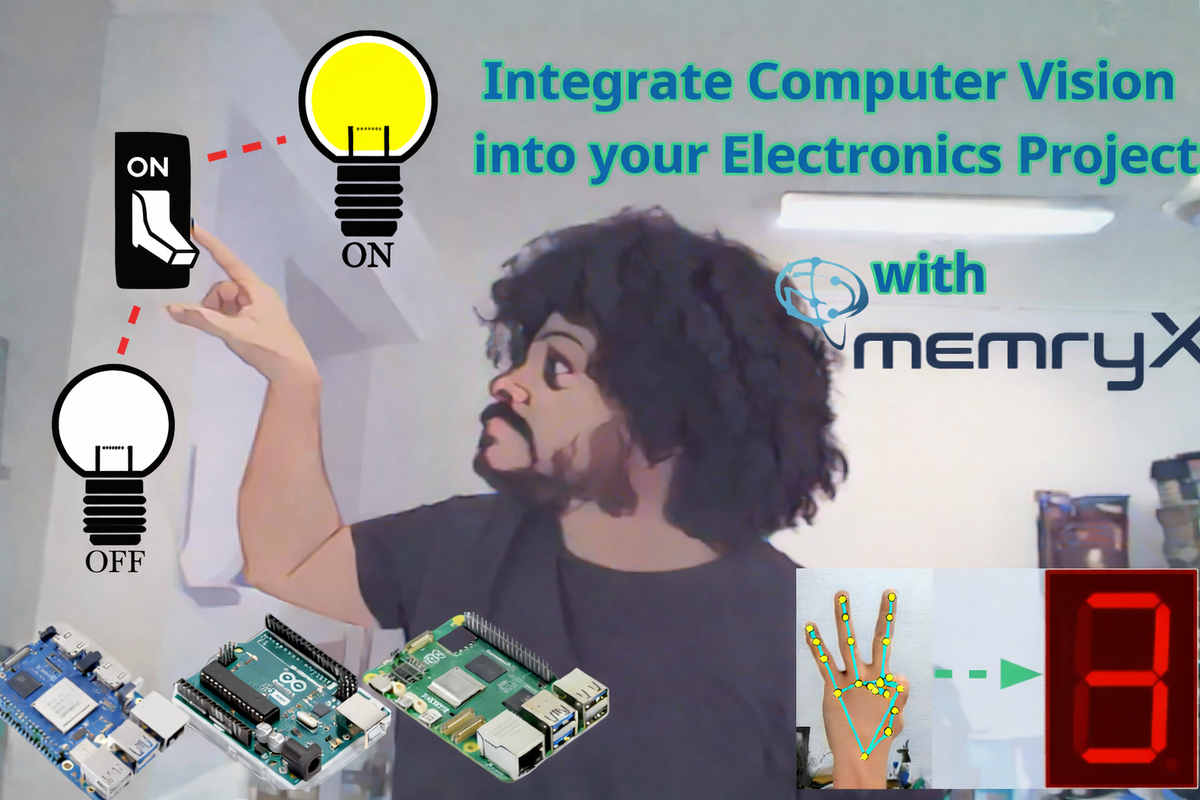
Introduction to Integrating Computer Vision into Hardware Projects
A series of guides on how to integrate computer vision into your electronics project on Arduino, Raspberry Pi, Orange Pi and more, using MemryX MX3 AI Accelerator
Background
Most electronics projects start with something simple: blinking an LED, reading a sensor, controlling a motor, or sending a signal to a display. Eventually, the question becomes: what can I add next?
For many makers, the next major leap is computer vision. Instead of only reacting to buttons, sensors, or timers, your project can respond to what it sees: hand gestures, people, objects, motion, colors, or patterns.
This series shows how to bring computer vision into Arduino, Raspberry Pi, Orange Pi, and other hardware projects using the MemryX MX3 M.2 AI Accelerator.
After finishing a project like blinking an LED, you usually face a choice: improve it or move on to the next challenge. Maybe you add more LEDs, control their blink speed, or turn the circuit into a Morse-code encoder. Over time, those small steps lead to bigger systems: obstacle-avoidance robots, Bluetooth-controlled lighting, sensor-driven automation, and more.
That progression is what makes tinkering so exciting. Every small circuit opens the door to a bigger idea. I started that journey in high school with my first Arduino starter kit, fascinated by the sense that I could build almost anything.
Years later, after building my own home embedded-systems lab, completing more than 500 electronics projects, and studying Electrical and Computer Engineering, I reached a new question: how do I keep improving?
As AI became more accessible, that question evolved into something more specific: how do I bring AI into the hardware projects I already know how to build?
This series is my answer to that question.
Integrating Computer Vision into Any Hardware Project
This series is a collection of guides showing how to add AI capabilities, mainly computer vision, to electronics projects across different hardware platforms using the MemryX MX3 M.2 AI Accelerator.
This article serves as both an introduction and a contents page. Here, you will find links to specific guides based on your project type, hardware setup, and experience level. Some guides focus on setting up your system, while others walk through complete projects that use the MX3 accelerator for real-time computer vision.
List of Guides
Setting up MemryX MX3 Accelerator on Raspberry Pi 5
[Upcoming] Interface WS2812 Addressable RGB LED Strip with Raspberry Pi
[Upcoming] Install MemryX MX3 AI Accelerator on your PC
[Upcoming] How to Control your Arduino Project using Computer Vision
[Upcoming] Display a number on 7-segment Display using hand gestures
[Upcoming] Control your home using Computer Vision
[Upcoming] Hallway Light that follows you!
[Upcoming] Add Computer Vision to your PIC project
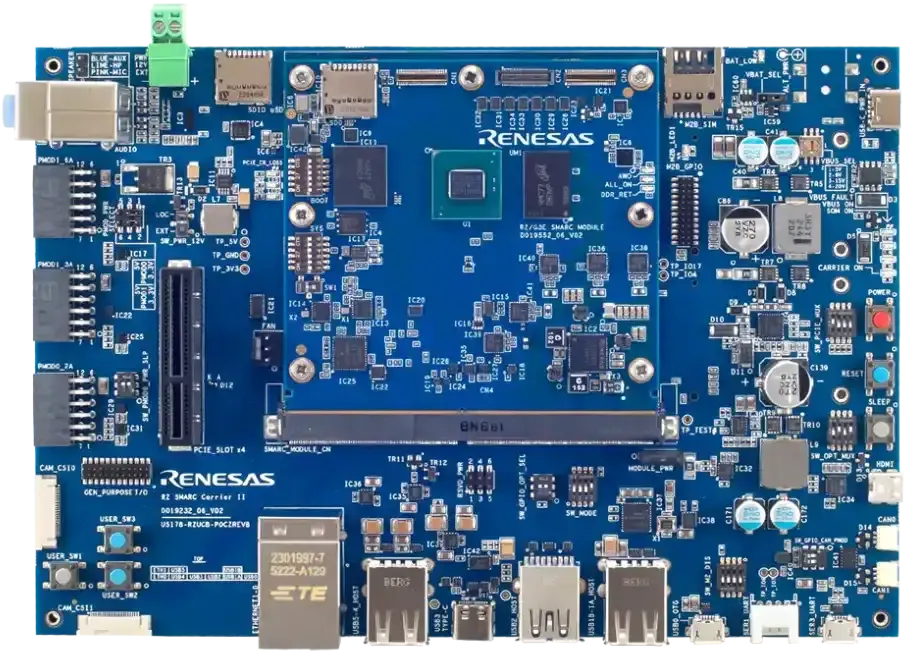
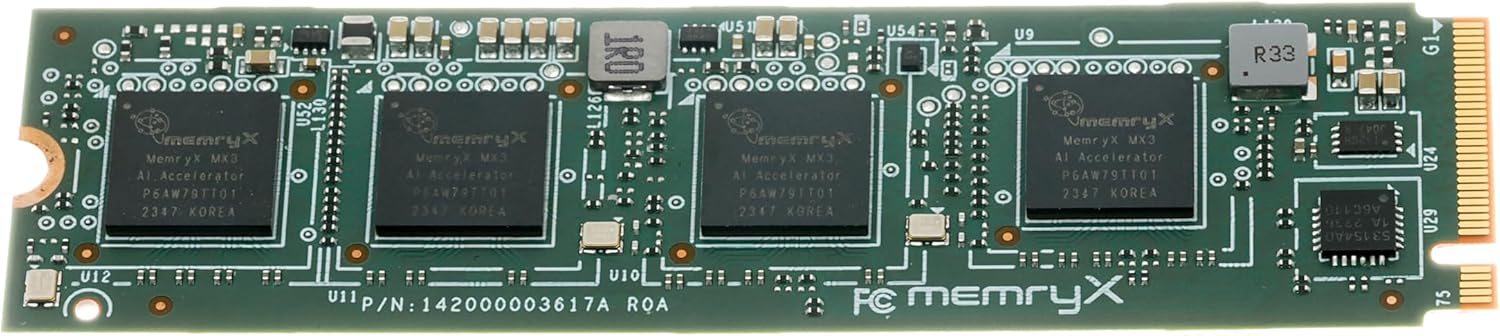
Why the MemryX MX3?
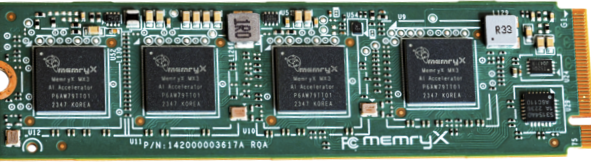
The MemryX MX3 M.2 module is designed to make it easier to add local AI acceleration to hardware projects. For maker, robotics, and embedded vision applications, it offers several practical advantages:
MX3 Advantages for Hardware Projects
- Power-efficient operation: typically operating in the single-digit watt range, depending on workload and configuration.
- Well-documented hardware and software: with resources available for setup, development, and deployment.
- Comprehensive getting-started tutorials: useful for bringing up the accelerator on supported systems.
- Support for custom models: allowing you to use your own trained models instead of being limited to a fixed model zoo.
- Cost-effective hardware: available at around $150 per module at the time of writing.
- Compact M.2 2280 form factor: small enough to fit into many SBC, PC, and embedded setups.
- High computer vision throughput: for the latest performance numbers on supported models, check the MemryX Model Explorer.
- A growing library of examples: including 50+ free projects and demos on the MemryX Examples GitHub page.
SBC vs. MCU
Adding AI capabilities to a hardware project usually requires some form of computer to handle model execution, camera input, and data processing.
a programmable, usually electronic, device that can store, retrieve, and process data -merriam-webster (Computer)
But with that definition comes many forms and shapes of computers, each with different attributes depending on the use case. For example, do we value price over performance? Do we value size over I/O ports? Do we prioritize something easy to work with, or a well-known and well-documented ecosystem?
Each system, or rather each ecosystem, has its own advantages and disadvantages. Since this guide is written to help you integrate computer vision into your projects regardless of your hardware setup, I will document different approaches across multiple systems.
But first, let us outline some of these ecosystems and compare them with each other.
Single Board Computer (SBC)
Single-board computers are a much smaller form of conventional computers, where necessary components such as the CPU, memory, networking, and I/O are integrated onto a single motherboard designed to be compact in size.
There are many variations in terms of size, performance, and I/O options. Thankfully, some manufacturers offer PCIe capability, which can be used to integrate the MemryX MX3 module with the SBC itself, either directly or through an adapter.
- Cheap compared to conventional computers ($150 vs $1500)
- Compact in size (Usually the size of a modern smartphone)
- Completely open source ecosystem
- Low power consumption (around 30 W total)
- Complete computer where you can attach a camera and connect to the internet, does not need the help of another computer
- Versatile development environment (various communications protocols, easy to integrate external hardware via USB or headers)
- Lower processing performance compared to conventional desktop computers
- Less modular, since CPU, memory, and I/O options are fixed by the board design
- Some devices might require an M.2 adapter
- Some devices have a limited PCIe support (PCIe 1-lane instead of 2-lane)
- Can be hard to obtain sometimes
Microcontroller Unit (MCU)
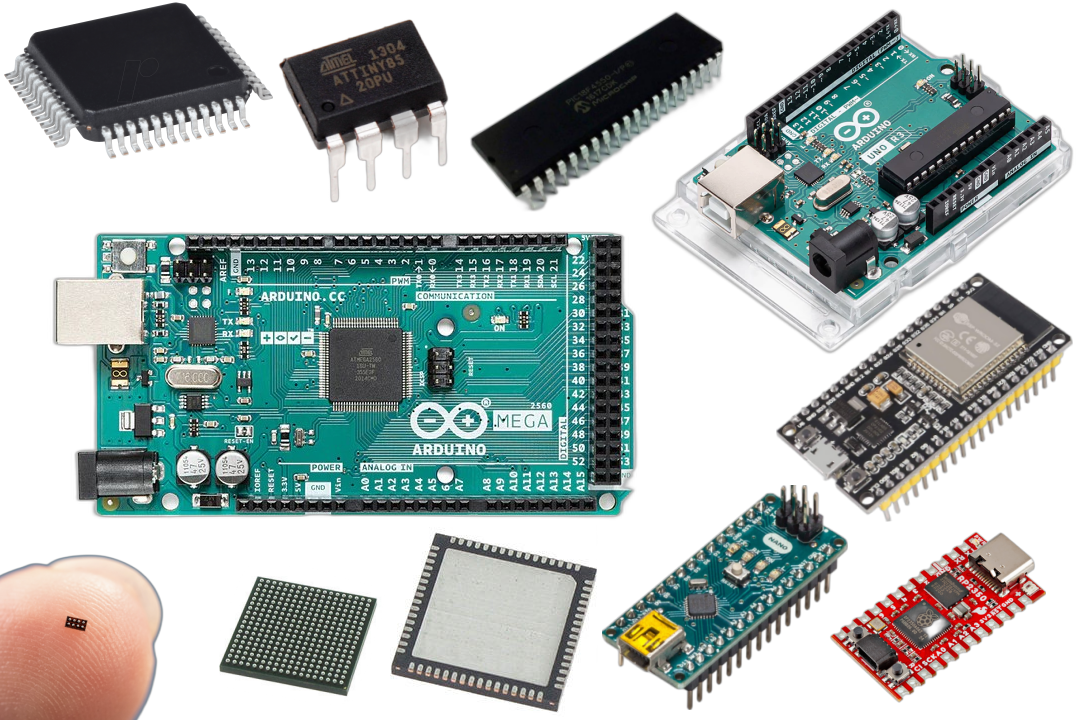
Microcontrollers are a type of integrated circuit (IC) that contains a group of small components, such as a microprocessor, RAM, ROM, oscillator, ADC, and I/O, all integrated into a single package. This implementation allows for a small and low-cost solution for specific embedded systems projects, such as controlling a motor, switching lights on and off, reading from a sensor and sending an SMS when the reading goes above a threshold, building an IoT project to control your home, or even building a complete robot.
MCUs usually come in IC form, with only their pins exposed. However, that form can be difficult to interact with directly. You need to study the datasheet to understand the pin structure, supply the chip with a strict operating voltage, and go through several steps to upload code to it. All of this can be cumbersome, even for experienced developers.
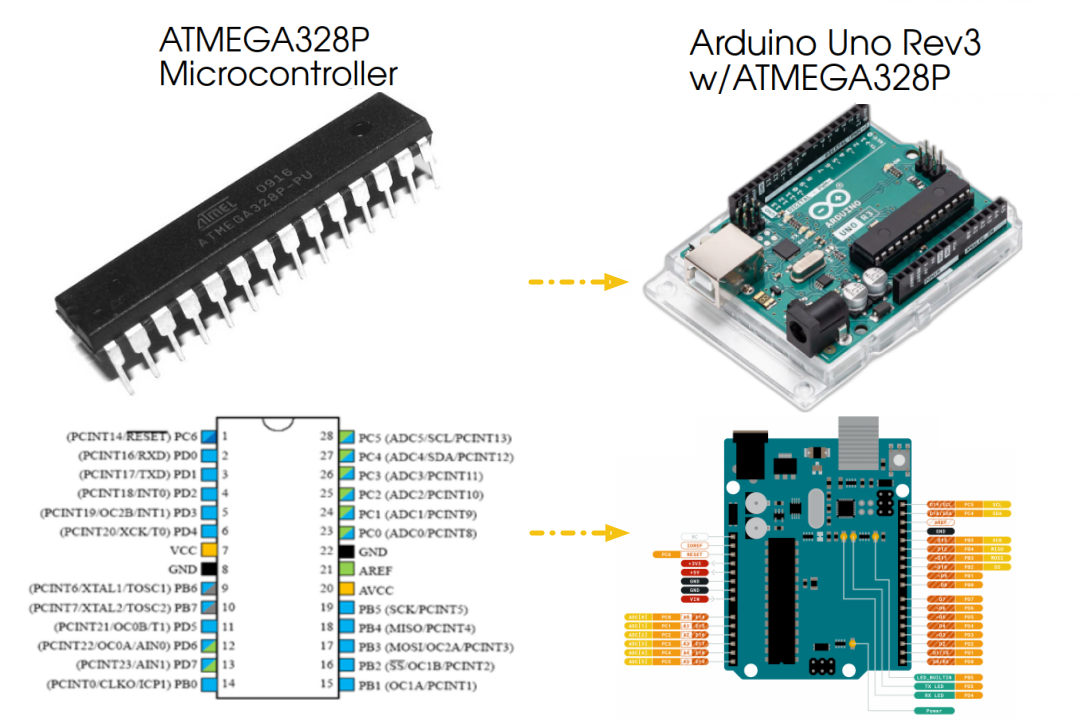
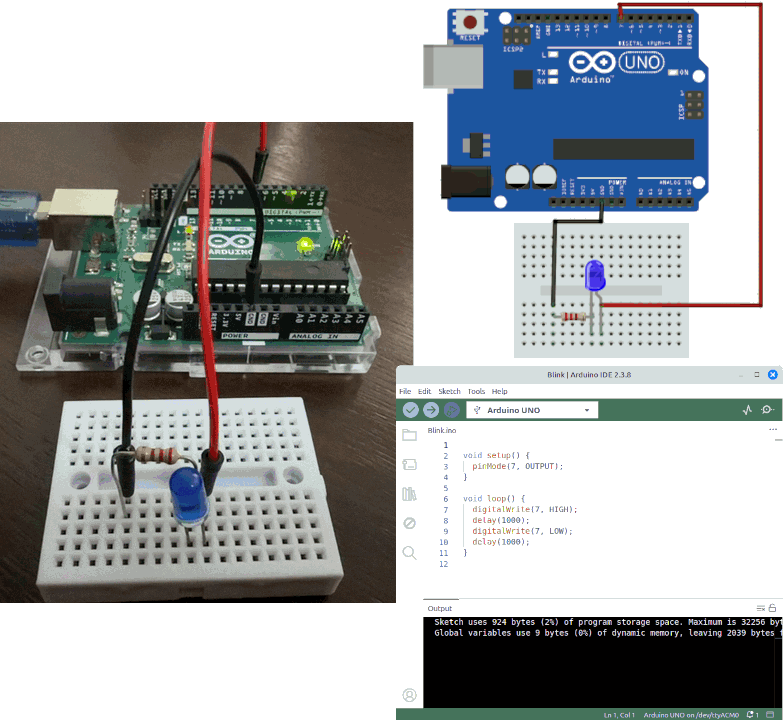
Fortunately, most makers do not need to work directly with bare MCU chips. Development boards, such as Arduino boards, mount the MCU onto a board with voltage regulation, protection circuits, labeled pins, and a simple programming interface, often through USB. This makes microcontrollers much easier for students, beginners, and hobbyists to use.
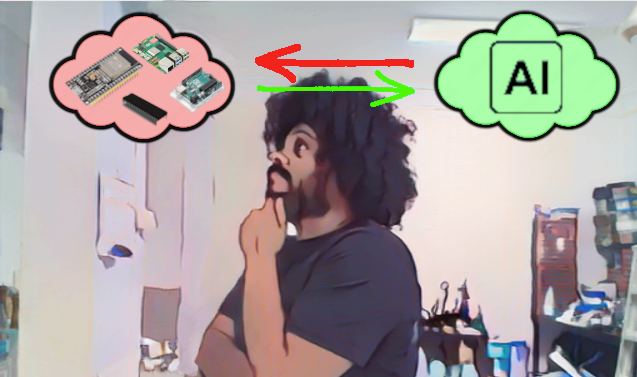
If SBCs are much stronger and more capable, why am I considering MCUs in this series?
Short answer: Adaptation.
The ease of learning has made microcontroller kits, especially Arduino, a common choice for schools that want to teach programming and electronics to their students. This has helped build a massive online community of builders and tinkerers who support each other by creating guides, tutorials, and projects, just like the ones in this series.
While the initial focus of this series was to teach how to use computer vision in electronics projects, I thought it would be more compelling to show how easy it can be to add computer vision to an existing project, rather than building a completely new one just to use AI.
One major drawback of MCUs is that you usually cannot install AI accelerators directly on them. They are not designed to handle tasks of that scale. However, you can connect a computer with an accelerator module and have it communicate with your MCU, sending the needed commands based on the AI model’s output.
- Easiest to build projects on
- Cheaper than SBCs ($20 vs $100)
- Very compact in size (Even smaller than SBCs)
- Completely open source ecosystem
- Very low power consumption (most projects won't exceed 8 W)
- Massive community
- Massive variety of peripherals made with ease of integration in mind
- Widely available devices and peripherals
- Substantially limited on performance
- Cannot host AI accelerators directly; usually relies on a separate computer for AI processing
Which one should I choose?
Use an SBC when your project needs to run Linux, connect to a camera, process video, host the MX3 accelerator, or connect to the internet directly.
Use an MCU when your project needs simple real-time control, low cost, low power consumption, and direct interaction with sensors, motors, LEDs, relays, or displays.
If you are starting from scratch and already have an SBC available, using an SBC will usually be more convenient. But if you have already built your project around a microcontroller, or if you want to reduce your budget, this series will guide you on how to connect your existing project to a computer vision system.
Conclusion
This article is an introduction to what I hope will be a fruitful and fun series about bringing AI capabilities into electronics projects. Now that we have covered the purpose and structure of the series, along with the different types of devices we will be working with, it is time to start building.
Let’s create some awesome projects!